


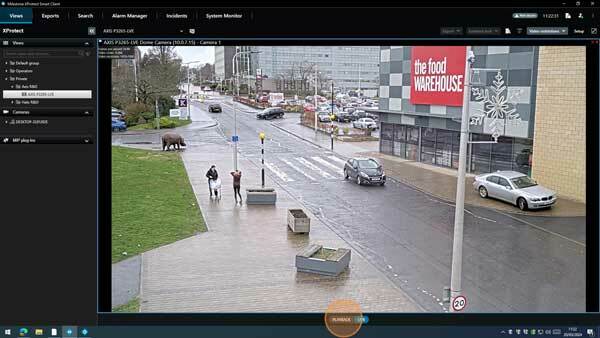
This video explains the process of exporting video of interest from the Milestone XProtect Smart Client application to allow further investigation, to pass to the authorities or just to store long-term. While you can export from multiple cameras at the same time, we are looking at exporting evidence from a single camera in this article. For a detailed breakdown of each control, see the detailed explanations below.
This video is part of our video series on how to use Milestone XProtect, where we break down each feature and explain how to use it to ensure that your Milestone-based video management system is operated most effectively. Subscribe to our channel to be notified of new videos in this series.
1. Enter playback mode
Below the live video, click on the 'PLAYBACK' button to leave the live view screen and enter playback mode.
2. Select time period to export
Click this icon at the bottom-left of the video. This button allows you to select a time period for export using the timeline.
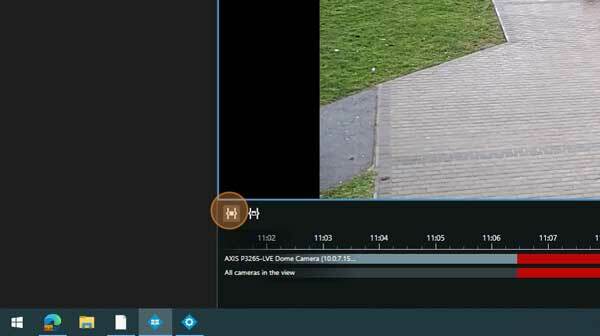
Tip: Alternative method of selection.
The icon to the right of the one clicked above allows you to set an export period based on dates and times. It will display a calendar allowing you to choose the start date/time and end date/time and when selected will show the period on the timeline.
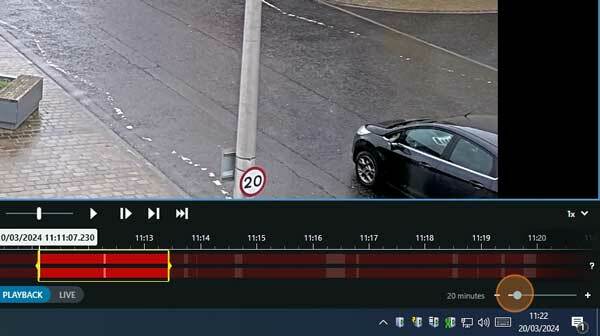
3. Fine tune your export time period
You can fine-tune the export period by clicking the yellow handles on the right or left of the represented period, and dragging to the left and right to alter the duration.
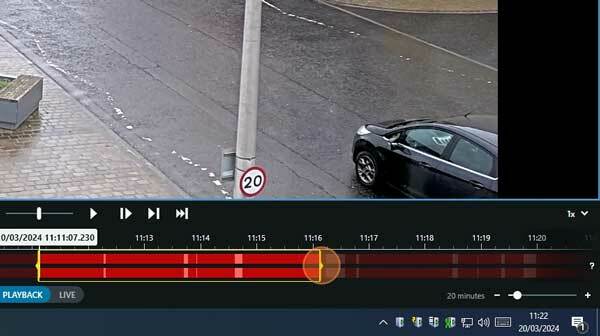
You can also adjust the scale of the timeline, in or out, using this zoom control shown here to make selection of shorter or larger exports more easily.
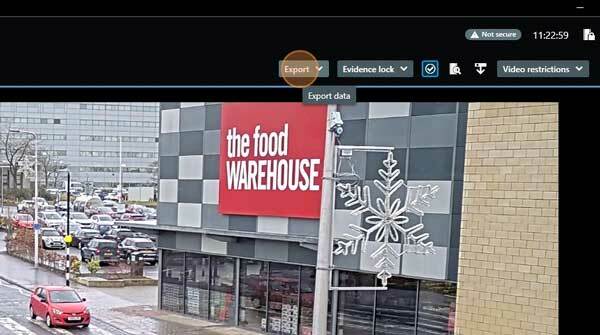
4. Enter the export dialog
Once you have set your export period on the timeline, click the 'Export' button.
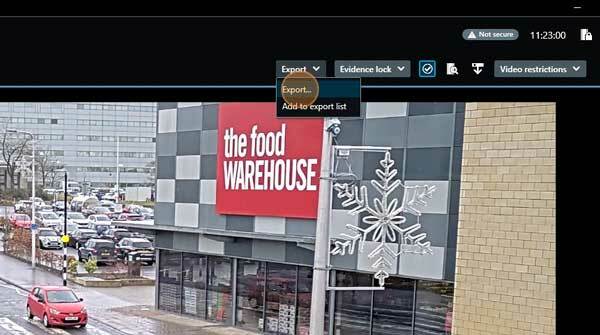
This will open a menu. Choose 'Export' from the menu.
5. Using the export window
From here you can verify your export period, make the camera selection, and access additional settings and your chosen export method. Note that in our example, we only have access to one exporting method, the XProtect format. This is the recommended format to use.
The XProtect format will export your raw video files and also include an application, Smart Client Player, which will play the exported files.
Other examples of export methods which can be used are still images or exporting as a movie file.
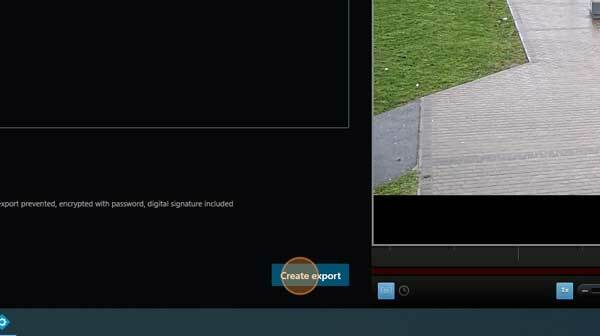
6. Perform the export
Click 'Create export' to continue.
This opens the 'Create export' dialogue box. From here you can give your export a meaningful filename, chose the location where you wish to save the files and also add an optional comment or set of instructions, which will be attached to your exported files and display when the export is opened.
Click the 'Export' button once you have made your choices to continue.

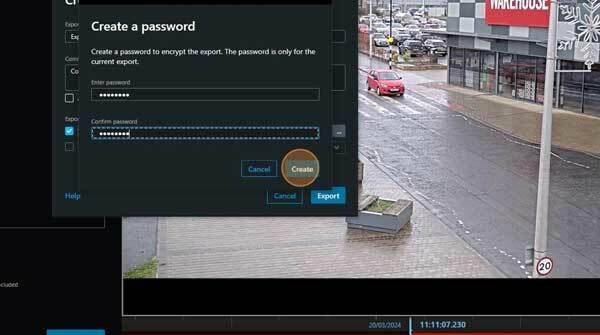
It will then ask you to create a password for your exported files. This keeps your exported video files secure as it will be a required before your exported video will be shown.
Tip: for best security and data protection always use the XProtect export format. This is the recommended method to use as it guarantees the export footage hasn't been tampered with as it exports the raw, uncompressed data from the Milestone video database, along with the software required to play it. Also, with it being the raw data from video storage it is the most lossless and quickest export method as it doesn't require re-encoding. Additionally, other formats cannot be controlled for compliance purposes. Your administrator can make this available to you and can easily prevent the other export formats from appearing.
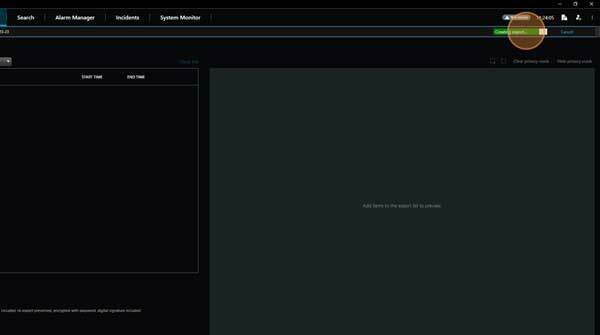
When you click the 'Create' button it will then start to create your export.
Note that the status bar at the top of the screen will show the progress of your export.
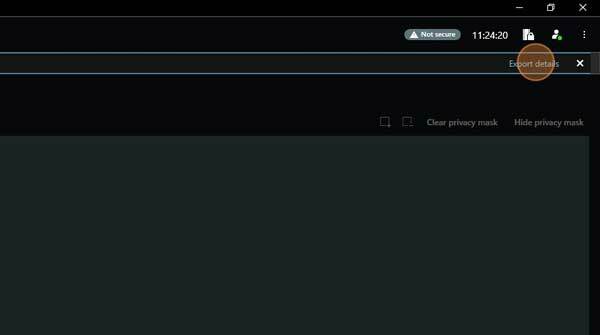
7. Check your exported files
When complete, click on the 'Export details' link.
This will open a small dialogue box showing the location where your exported files are stored. Click on the link to be taken automatically to the folder where your files are located.
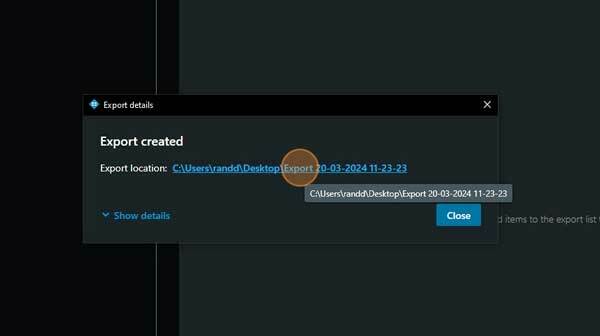
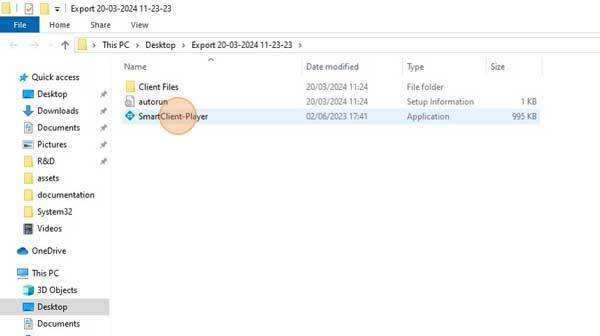
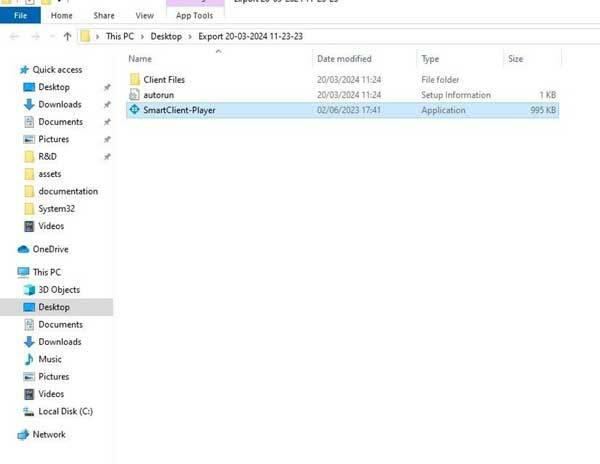
The link automatically takes you inside the folder of your exported files.
The file, SmartClient-Player, is the program which will allow you to view your exported video files.
To check your exported footage, just double-click on the 'SmartClient-Player' icon to run the program.
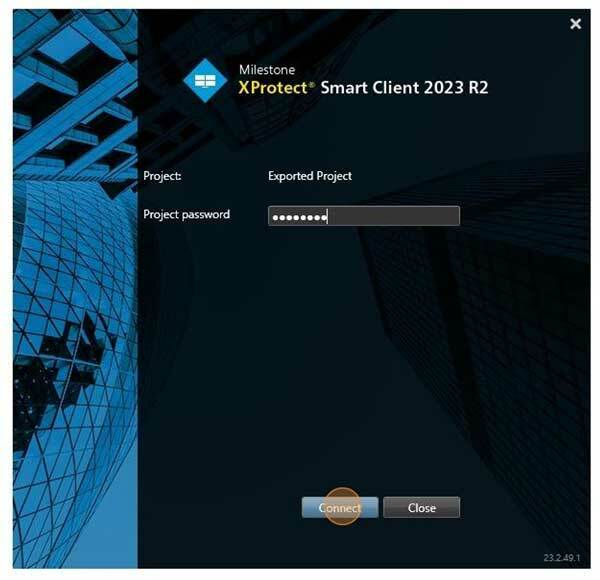
When loaded it will ask for your export password. Enter the password you created earlier to continue.
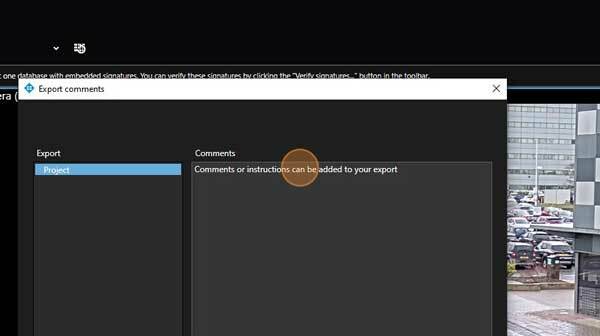
When your export opens, note that your comments/instructions will automatically appear as soon as you log in.
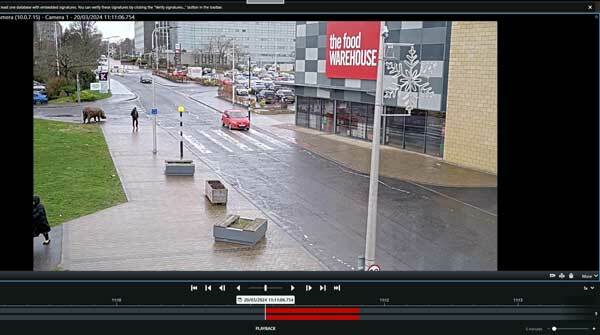
18. And that's all there is to it. You can check over your export to ensure that the time period available is the same as the time period you selected to export.
If you need to deliver your export to another party, copy all files, including directories, as shown below to disk, USB stick or any other kind of removable media, and provide the password so they will be able to open it.
Tip: Export multiple shorter duration events rather than long ones for best performance. Long event exports, or exports with many cameras in them can take some time and depend on the processing and storage resources available to the client and to the system.
Milestone XProtect is the leading, open platform Video Management Software. It can be used by organisations of any size, from small businesses to national infrastructure for any application that needs video.