
17th Apr 2024
How to set up keyboard shortcuts in the Milestone XProtect Smart Client
The video below will guide you through how to set up keyboard shortcuts in the Milestone XProtect Smart Client. The act of setting up keyboard shor…

12th Apr 2024
How to export footage from the Milestone XProtect Smart Client
This video explains the process of exporting video of interest from the
Milestone XProtect Smart Client application to allow further investigati…
10th Apr 2024
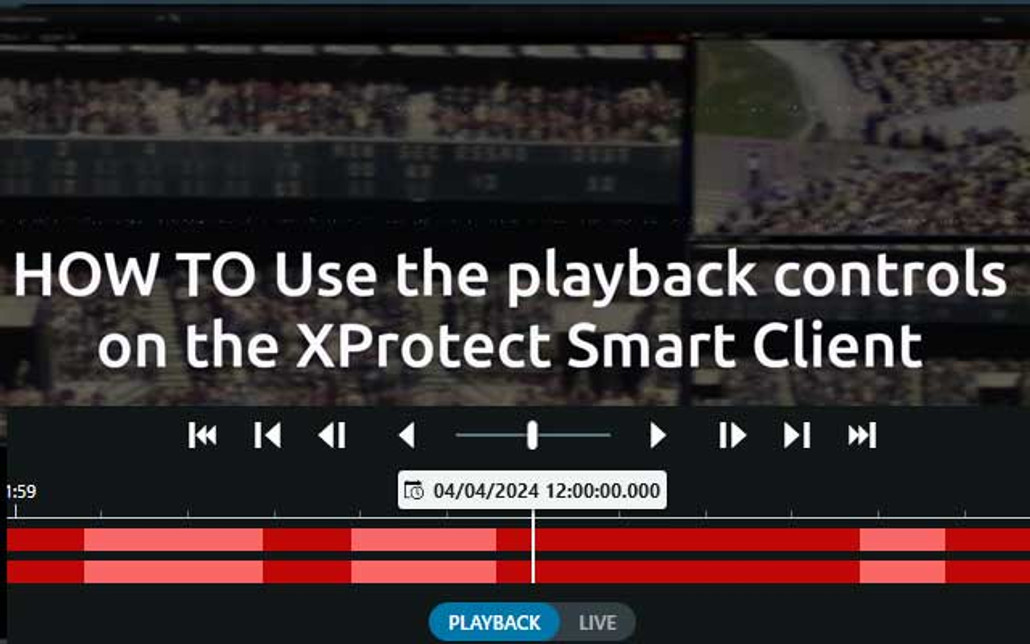
How to use the playback controls on the Milestone XProtect Smart Client
The video below will guide you through all of the capabilities for playback in the Smart Client. For a detailed breakdown of each control, see the…

18th Mar 2024
Axis Body Worn Cameras - The benefits and how does it all work?
Axis Body Worn Cameras - The benefits and how does it all work?
You may have noticed
body worn cameras becoming more prevalent nowadays, bein…

11th Mar 2024
Compare Milestone XProtect VMS Products
The differences between the Milestone XProtect VMS product variants may not always be clear to everyone. To help you choose we have created this Miles…
21st Feb 2024
Honeywell Video Surveillance, Now Available At NW
We have
teamed up with Honeywell Security as a value-add partner offering
Honeywell Video Surveillance products into the UK market.
The Ho…

1st Nov 2023
Guide to the i-PRO product naming convention
i-PRO are a security camera manufacturer born out of Panasonic, who offer a broad range of IP CCTV cameras, NVRs and associated products and who ar…

12th Oct 2023
What's Different In The New Axis M42 Series Of Dome Cameras?
Axis has launched a new range of indoor dome cameras called the M42 series. So what’s new? First and foremost all cameras in the range have a varifoca…
16th May 2023
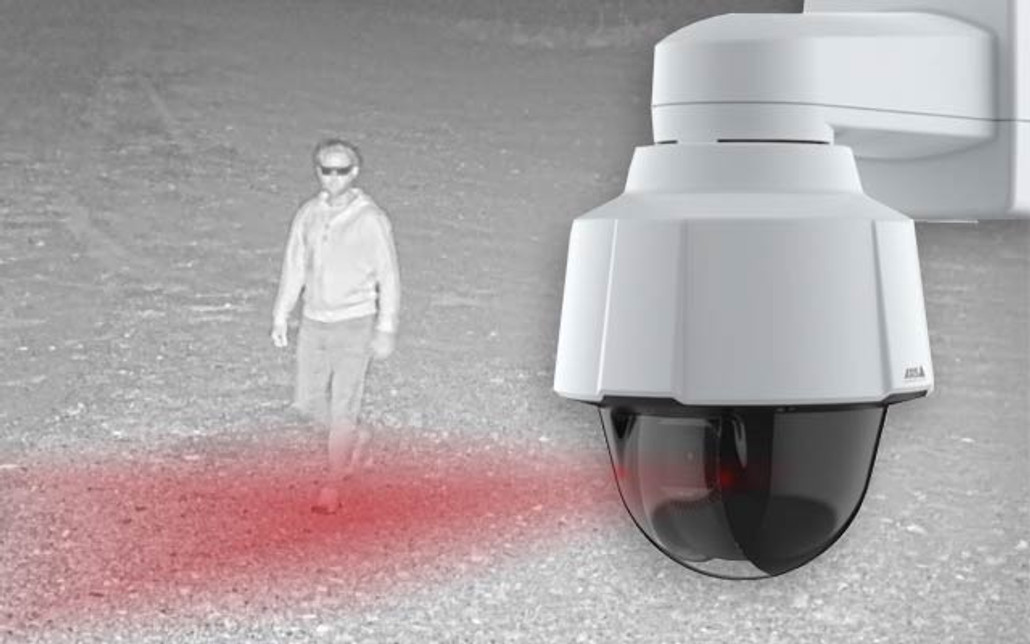
Introducing the new Axis P5676-LE, featuring 200m infrared vision
Axis’ P-series is known for offering straightforward and reliable monitoring solutions for medium-sized applications. Whilst, historically, the more a…

14th Apr 2023
Beyond the Datasheet: Panoramic VS Multi-IP camera system
When designing your IP CCTV system, an initial consideration will be which type of
IP camera can deliver the most efficient security surveillanc…
10th Apr 2023
Introducing: Milestone Suspect Tracking
For many years, Milestone software has included a feature called Camera Navigator, which allowed operators to more easily move between camera views…

6th Apr 2023
One unit, multiple possibilities: What’s new in Axis’ latest generation of modular cameras?
Axis' modular camera systems have long been a popular choice for flexible and cost-effective monitoring.
The modular design allows the 'eye'…


